Importing Geometry
Our next step is to construct a geometric model to represent the shape and topology of our problem domain. ModelBuilder can be used to create geometric models interactively, or import geometry from a variety of file formats including Open Cascade, Genesis, and STL.
For two-dimensional problems, we created a simple Planar PolyGon (PPG) file format that you can use to specify two-dimensional geometry with a text editor. This format defines geometry as a list of vertex coordinates and polygon faces, with vertices connected implicitly by straight-line model edges. The geometry for our example problem can be defined in PPG format as follows:
# Vertices 1-8 for the outer polygon
v  0.0  2.0
v  1.0  0.0
v  9.0  0.0
v  9.0  2.0
v  8.0  4.0
v  6.0  5.0
v  3.0  5.0
v  1.0  4.0
# Vertices 9-12 for the inner loop (hole)
v  7.0  1.0
v  8.0  1.0
v  8.0  2.0
v  7.0  2.0
# Faces - note that vertex indices start with 1
f 1 2 3 4 5 6 7 8  # face
h 9 10 11 12       # hole
Because the PPG import software is intended for training and demonstration use, the supported feature set is purposely limited. Each polygon must have simple geomety, polygons cannot be self-intersecting, polygons may share edges but cannot otherwise intersect or overlap. More details can be found at this PPG File Format page.
3. Download PPG File
To add this geometry to the project, you can download the example.ppg file from the following link (right click on the link and find the “Save As” option), or copy the contents shown above into a file.
4. Import Geometry
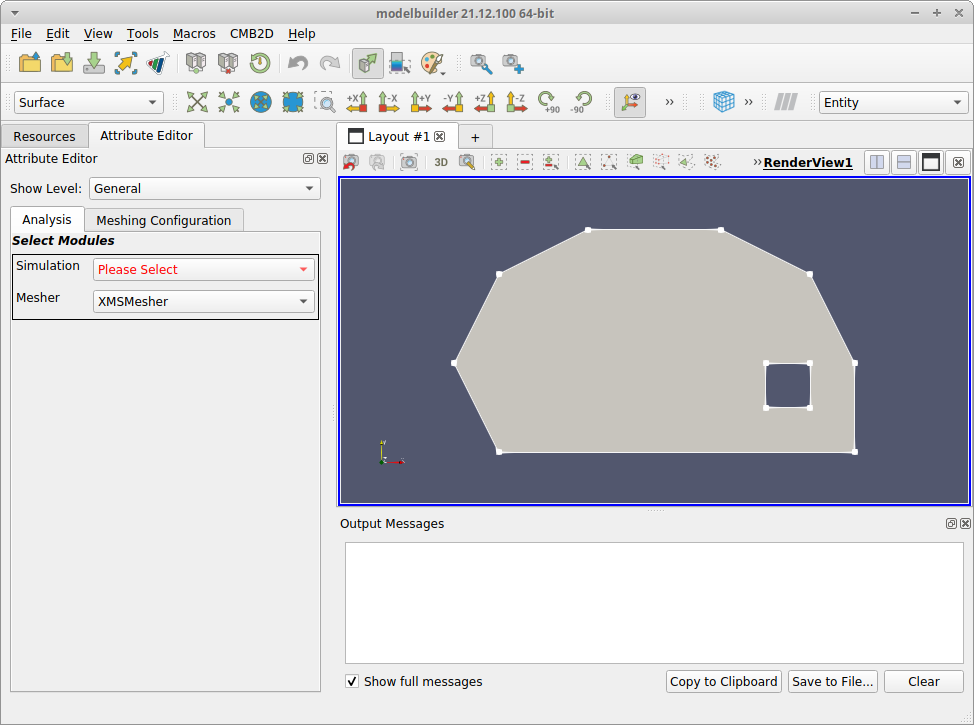
Go to the “CMB2D” menu and select the Import Geometry… item, which displays a file dialog for entering the ppg file. Navigate to the ppg file and click the OK button. In response, ModelBuilder-2D will read the ppg file, generate a model resource, add it to the project resources, and display the model in the 3-D RenderView. Find and click the Camera Reset toolbar button to center the data in the display.

When you are done, modelbuilder should look similar to this
With the geometry model added to the project, we next begin the analysis specification.