Installing ModelBuilder-2D
Note
At present, the ModelBuilder-2D install package is only available for linux systems.
1. Download the Package File
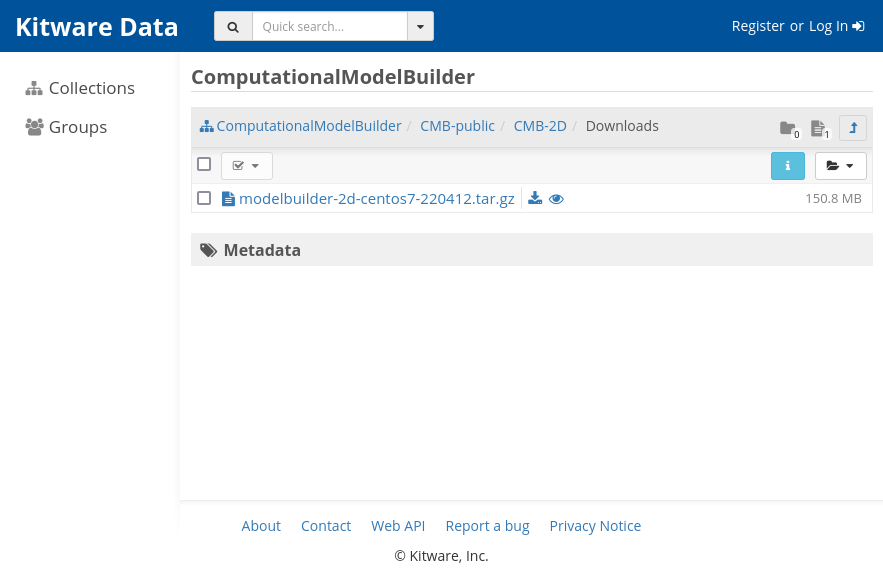
The latest release packages for ModelBuilder-2D are stored online in the CMB-2D/Downloads Folder. Navigate a web browser to that link, locate the package file for your platform, and click the download button to the right of it.
2. Extract the Package File
After the download is complete:
For linux, extract the files from the
.tar.gzpackage to a convenient folder on your system. The modelbuilder executable is in thebinfolder.
3. Run the Executable
When you first start ModelBuilder-2D, it looks similar to the ParaView desktop application, with the main differences being that (i) some of the ParaView toolbars have been hidden, and (ii) the left sidebar has two new dock widgets labeled Resources and Attribute Editor, and (iii) there is a new CMB2D project menu.

4. Initialize Settings
Before going further, there are a couple application settings that are particularly useful for modelbuilder workflows. To set them, open the settings panel
On Linux and Windows systems, go to the Edit menu and select the Settings… item.
On macOS systems, go to the modelbuilder menu and select the Preferences… item.
Then in the Settings dialog, select the Sim Pre-processing tab.
Find the Hightlight On Hover item and check the box.
Find the Resource Tree Style item and change the selector to
two-level.
These settings do not take effect until the next time you start modelbuilder, so go ahead an exit by going to the File menu and selecting the Exit item (on macOS, go to the modelbuilder menu and select the Quit modelbuiler item.
